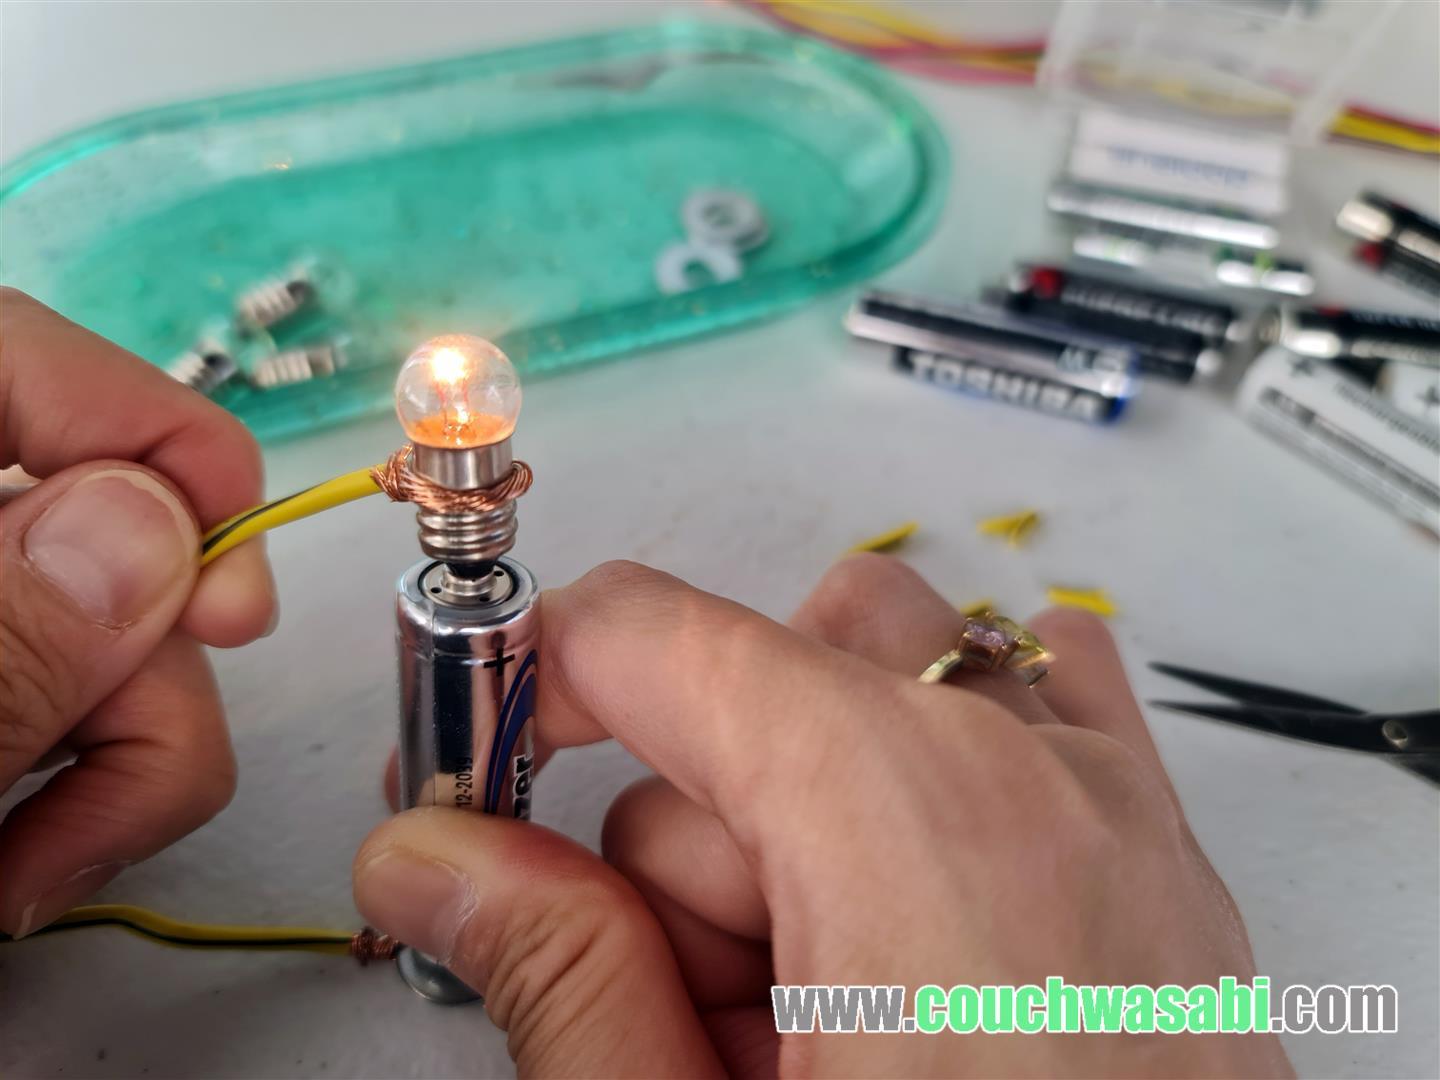
Do you have a stash of batteries you can’t part with only because you’re not entirely sure if it’s still usable or not? Well, today’s DIY project will solve all that. This is something I learned from my grandmother and it only needs very few supplies in order for you to recreate.

Here’s what you’ll need:
- 15mm washer (you can get this from any hardware supplies store)
- flashlight bulbs (I got it from Shopee as most hardware stores don’t sell this anymore)
- a few 6in-8in length of copper wires
- a trusty pair of scissors

First you’ll need to prep your wires by stripping off each end and exposing the copper wires. I just used my scissors to skin my wires bare. One end should have about 2inches of copper exposed and the other end has to have about 1inch-1.25inches exposed. Then twist the exposed copper wires on each end just like the photo below:

The longer end goes around your bulb and the shorter end goes around the 15mm washer. Just twist it around to secure the pieces in place just like so:

The copper wires must be secured tight around each piece in order for this battery tester to work. Now, you can test it with any of your batteries by placing the washer end at the bottom of the battery, then your bulb should touch the metal part on top of your battery. If the bulb lights up, it means your battery is for keeps! 🙂

Another thing to remember is to make sure that the bottom side of your battery touches BOTH the washer and the copper wire at the same time in order for this DIY tool to work. Needless to say, the brighter the bulb goes, the higher the power your battery has.
Did you find this useful? Let me know through the comments if you’ve tried this easy DIY activity.
Let’s socialize:
Twitter: @couchwasabi
Instagram: @jirbiego
Tiktok: couchwasabi
Join my latest Online Workshops by checking out my Patreon!


Leave a Reply
You must be logged in to post a comment.